Installing a chain link fence can be a great DIY project for homeowners who want to secure their property and enhance its appearance. While it may seem like a daunting task, with the right tools and a little know-how, it can be a relatively simple process. In this article, we will provide a step-by-step guide on how to install a chain link fence.

Step 1: Planning and Preparation
The first step in installing a chain link fence is to plan and prepare the site. This includes measuring the area where the fence will be installed, marking the boundary lines, and ensuring that there are no underground utilities in the area. Additionally, you will need to acquire all the necessary tools and materials, including fence posts, tension bands, top rails, and chain link fabric.

Step 2: Installing the Posts
The next step is to install the fence posts. This involves digging holes for the posts, placing them in the holes, and securing them with concrete. The spacing between the posts will depend on the height of the fence and the type of soil in the area. As a general rule of thumb, posts should be spaced 6 to 8 feet apart.

Step 3: Attaching the Top Rails
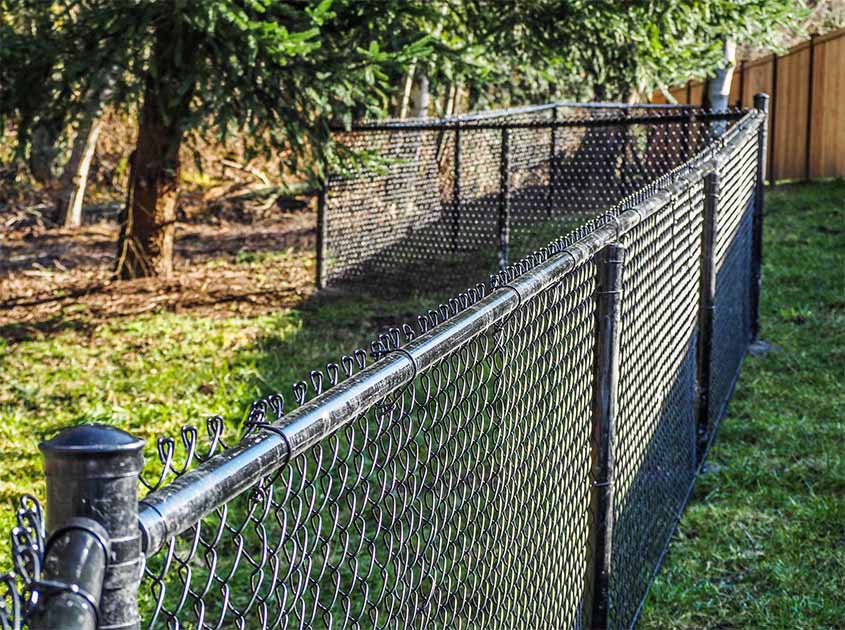
Once the fence posts are installed and the concrete has dried, the next step is to attach the top rails. Top rails are horizontal bars that run along the top of the fence and provide stability. They are attached to the posts using tension bands and bolts.

Step 4: Installing the Chain Link Fabric
The next step is to install the chain link fabric. This involves unrolling the fabric along the length of the fence and attaching it to the posts and top rails using tension bands and tie wires. The fabric should be pulled taut and secured to ensure that it is level and straight.

Step 5: Attaching the Bottom Tension Wire
The final step in installing a chain link fence is to attach the bottom tension wire. This wire runs along the bottom of the fence and provides additional stability. It is attached to the bottom of the chain link fabric using tension wire clips.
In conclusion, installing a chain link fence can be a relatively simple process if you have the right tools and follow the steps outlined above. By planning and preparing the site, installing the fence posts, attaching the top rails and chain link fabric, and securing the bottom tension wire, you can create a durable and effective fence that provides security and enhances the appearance of your property.
Pre:chain link fence: When Chain Link Fences Get a Glamorous Makeover
Next:The Versatility of Chain link fence: Applications and Benefits